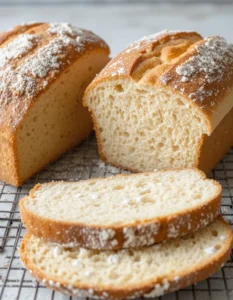
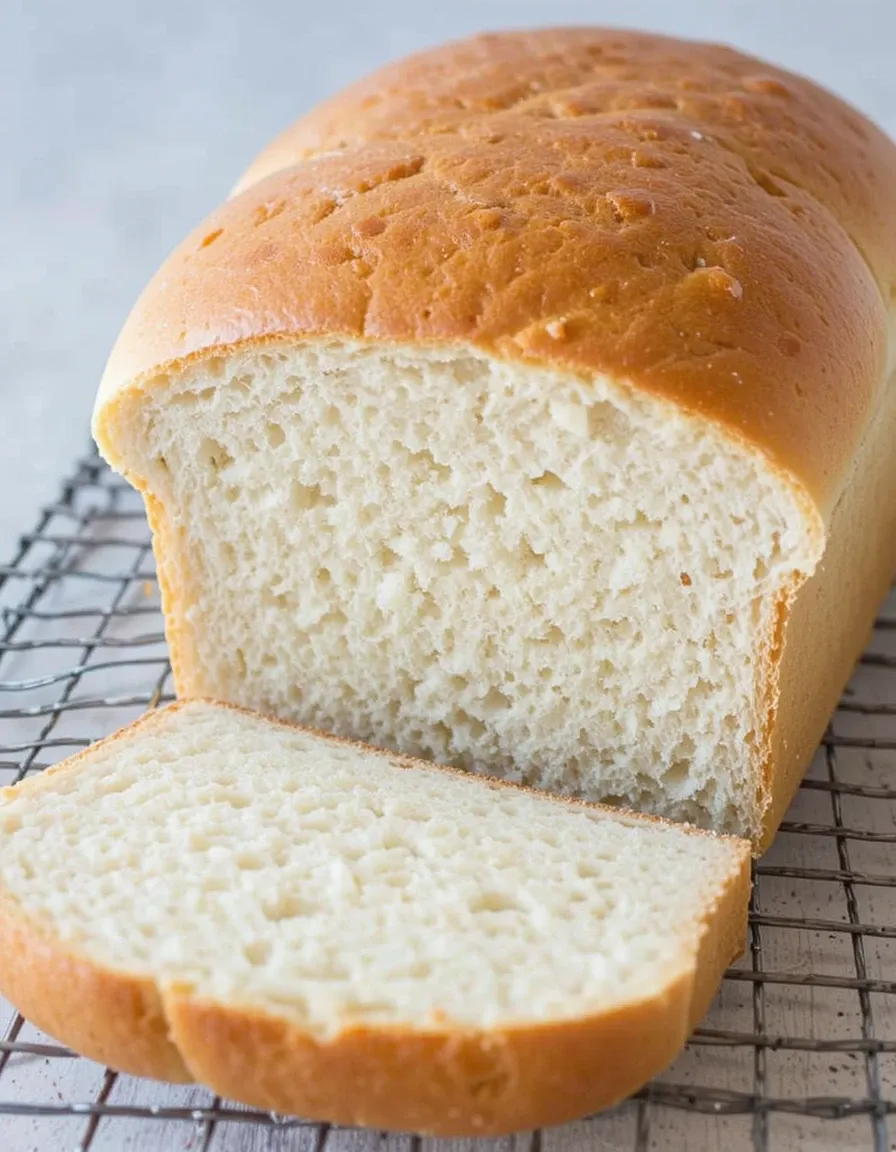
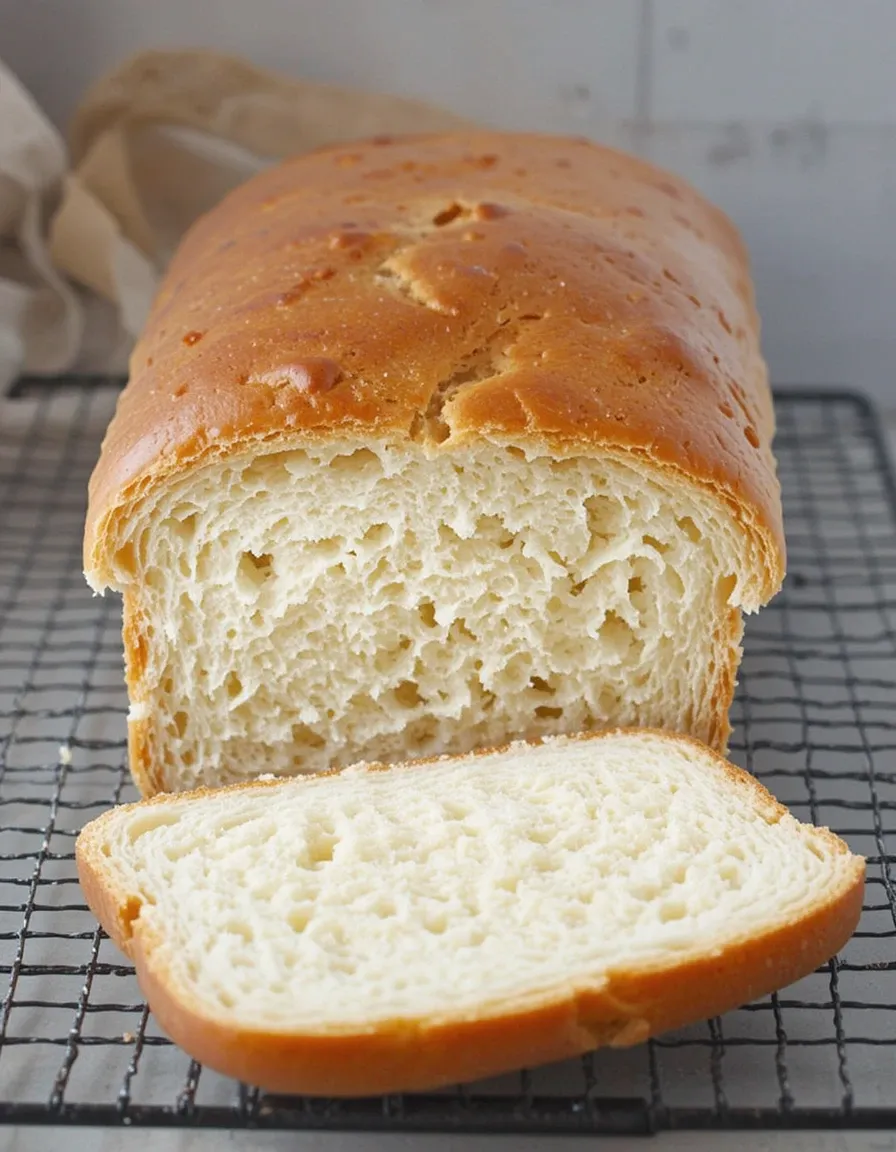
Amish White Bread
Let’s be honest—there’s nothing quite like the smell of homemade bread wafting through your kitchen. It’s the kind of aroma that makes you want to cancel all plans and just sit there with a stick of butter, waiting. Amish White Bread is one of those recipes that turns a regular day into something special. It’s soft, slightly sweet, and so fluffy that you’ll wonder why you ever bought store-bought bread in the first place.
Why Amish White Bread Is a Favorite
This isn’t just any loaf—it’s the loaf. The kind that makes your peanut butter and jelly sandwiches feel like gourmet dining. The one that turns toast into something worth waking up for. It’s been loved and baked by thousands, and for good reason. Plus, it freezes beautifully, so you can stash a loaf away for those days when you just need some homemade comfort without all the effort.
Recipe Details
- Prep Time: 30 minutes
- Cook Time: 30 minutes
- Rising Time: 1 hour 30 minutes
- Total Time: 2 hours 30 minutes
Yes, it takes some patience, but I promise—your taste buds will thank you.
What Makes This Bread Special?
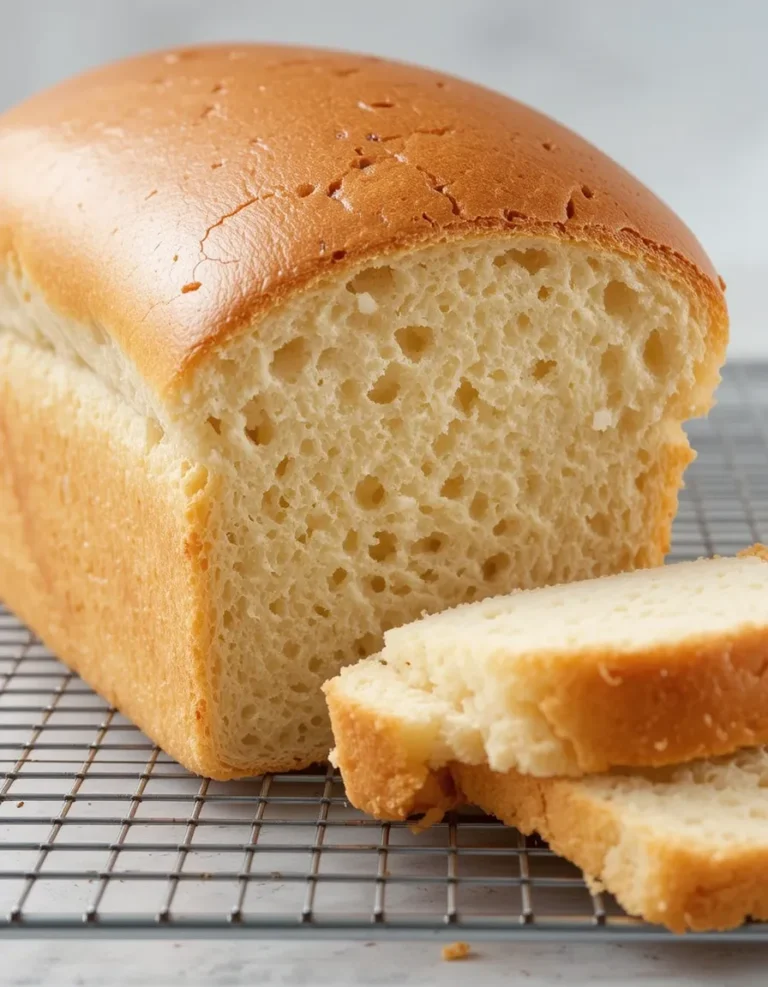
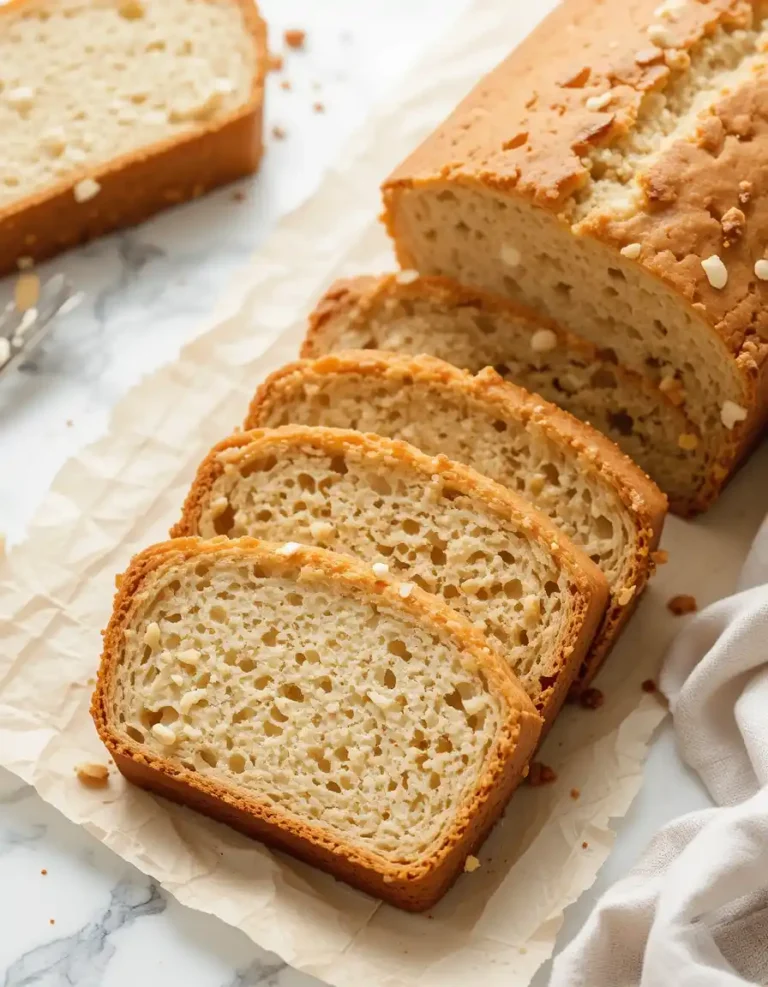
First off, the texture. This isn’t one of those crumbly, dry homemade loaves that taste like cardboard. Nope, this is the kind of bread that stays soft, slices cleanly, and holds up to anything you throw at it—jams, meats, cheeses, or just a generous smear of butter. The subtle sweetness gives it a hint of that nostalgic, bakery-fresh flavor we all love.
And let’s not forget its best talent—it freezes like a dream. You can make a few loaves at once, stash them away, and always have fresh homemade white bread ready to go.
Step-by-Step Video Tutorial
If you’re a visual learner, watching a step-by-step tutorial can be a game changer. Seeing the dough at different stages, learning how to knead properly, and watching how golden brown perfection looks straight from the oven will boost your confidence.
Key Takeaways
- Perfect for Beginners – If you can mix, knead, and wait, you can make this bread. No fancy skills required.
- Nails the Fluffy Factor – No more dense, rock-like loaves.
- Rises Even in Cold Kitchens – Struggling with a chilly house? Check out the tricks below for getting that dough to puff up properly.
Ingredients Needed
- 2 cups warm water (think bathwater warm, not lava)
- 2/3 cup sugar (yes, it seems like a lot, but trust me)
- 1 ½ tablespoons active dry yeast
- 1 ½ teaspoons salt
- ¼ cup oil (vegetable, coconut, or melted butter—each adds a little something special)
- 6 cups bread flour (or all-purpose, with minor adjustments)
Instructions for Success
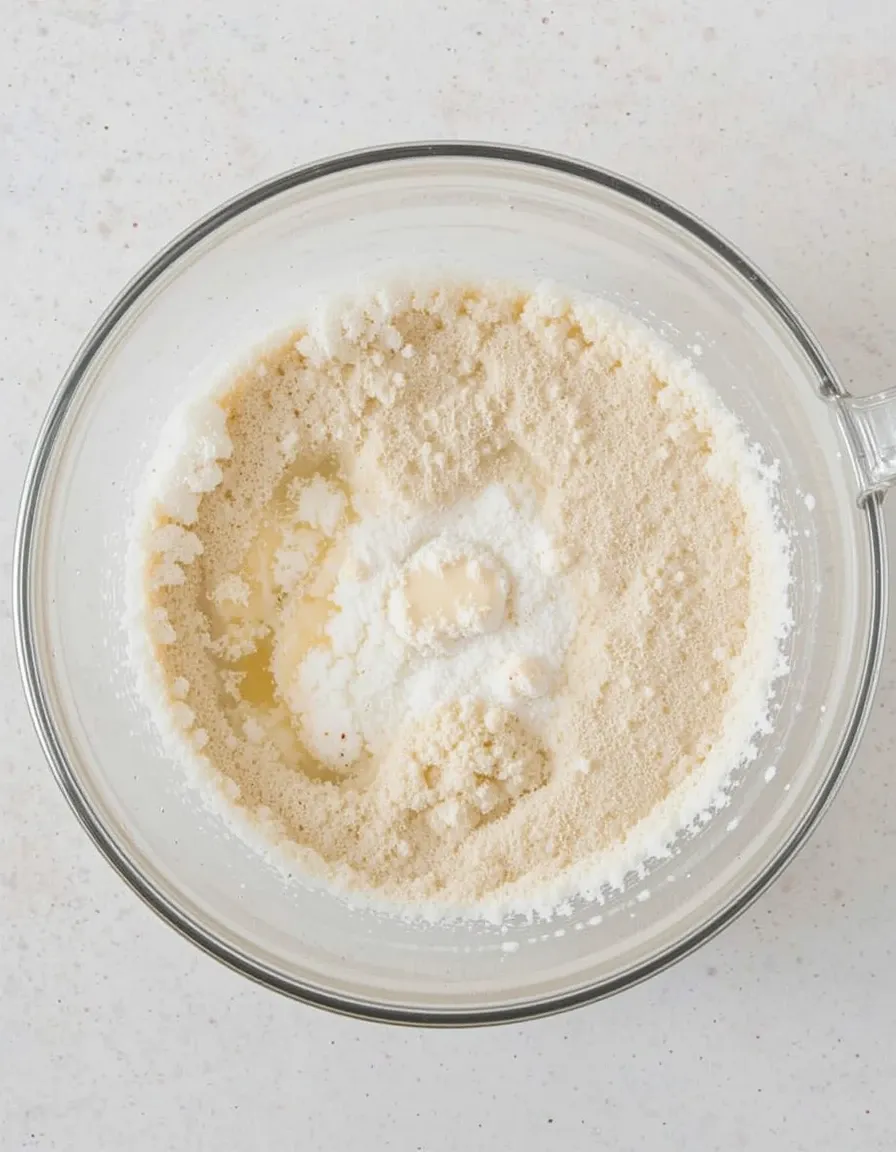
Mixing and Activating the Yeast
Combine warm water, sugar, and yeast in a large bowl. Let it sit for about 10 minutes. If it foams up and looks bubbly, congrats! Your yeast is alive and ready to party. If nothing happens, your yeast is dead, and you’ll need to start over.
Kneading the Dough
Add salt, oil, and flour gradually, mixing until a soft dough forms. Knead it for about 8–10 minutes. The goal? Smooth, elastic dough that’s slightly tacky but not a sticky mess.
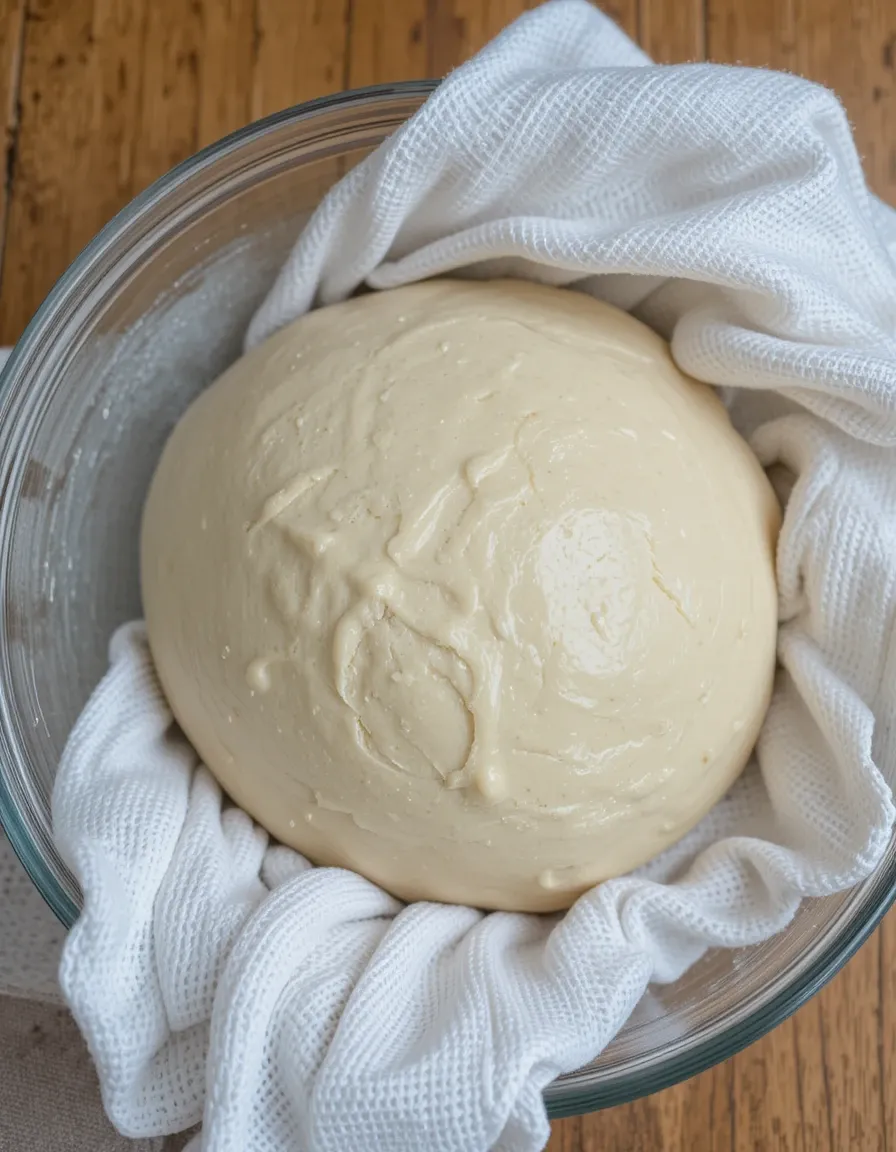
First and Second Rise
Place the dough in a greased bowl, cover it, and let it rise until doubled—about an hour. Punch it down (yes, you actually punch it), divide into loaves, and let it rise again in greased pans.
Baking and Checking for Doneness
Bake at 350°F for 30 minutes until golden brown. Tap the bottom—if it sounds hollow, it’s done. Cool completely before slicing unless you enjoy squishing warm bread into oblivion.
How to Store Amish White Bread
Cooling Techniques
Let the bread cool on a wire rack. Slicing too soon releases steam, making the inside a bit gummy instead of airy and soft.
Best Storage Methods
Store in a bread box or an airtight bag. Homemade white bread doesn’t have preservatives, so it’ll dry out faster than store-bought loaves.
Freezing for Long-Term Use
Wrap it in plastic wrap, then aluminum foil. If you slice it before freezing, put parchment paper between slices so you can grab just what you need without defrosting the whole loaf.
Customization & Variations
- Dinner Rolls – Shape into rolls and bake for a softer, pull-apart treat.
- Cinnamon Swirl Bread – Roll the dough with cinnamon sugar before baking for a bakery-style twist.
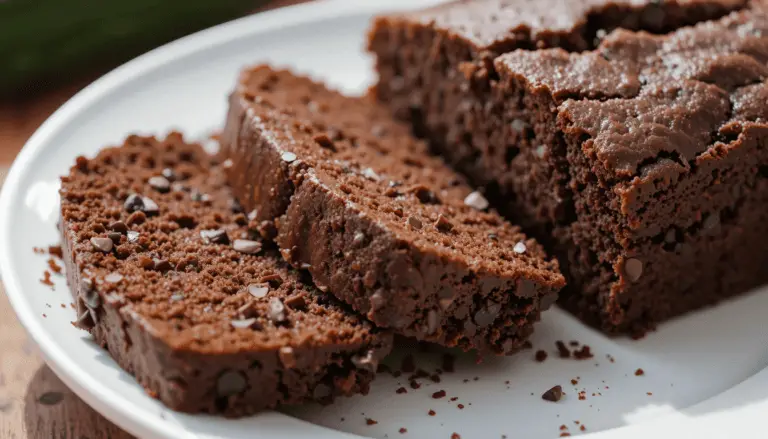
- Chocolate Chip Bread – Add chocolate chips for a semi-sweet loaf.
- Raisin Bread – Mix in raisins with a sprinkle of cinnamon for a cozy, classic flavor.
Bread Flour vs. All-Purpose Flour
Which One to Use?
Bread flour makes a loftier, chewier loaf, while all-purpose flour creates a slightly denser texture.
How to Adjust for All-Purpose Flour
If using all-purpose flour, swap 1 tablespoon per cup for wheat gluten to help mimic the elasticity of bread flour.
Expert Tips for Perfect Bread
Secret Ingredients for a Golden Crust
Brush the top with an egg wash or milk before baking for that bakery-style golden glow.
How to Enhance Dough Rising Naturally
Yeast needs warmth. A pinch of ginger or a little potato water (yes, the water from boiled potatoes) can supercharge your yeast for extra fluffy bread.
Best Oils and Fats to Use
Coconut oil brings a subtle sweetness, butter adds richness, and vegetable oil keeps it simple and neutral. Pick your favorite.
Essential Equipment for Baking
Must-Have Tools
A 9×5-inch loaf pan is ideal. A stand mixer with a dough hook saves time, but if you’re hand-kneading, consider it an arm workout.
How to Help Dough Rise Faster
Tricks for Cold Kitchens
If your house is chilly, let the dough rise in the oven with just the light on. Or, place it near a warm appliance to encourage yeast activity.
Using Ginger or Potato Water
A tiny bit of ground ginger in the dough or using leftover potato water instead of regular water gives your yeast an extra boost.
Frequently Asked Questions
Hand Kneading vs. Mixer Kneading
Both work! A mixer is faster, but hand-kneading gives you full control over dough consistency.
How Many Calories Per Slice?
Expect around 150 calories per slice, depending on thickness. But let’s be real—who’s stopping at just one slice?
Time-Saving Hacks
Let the dough rise overnight in the fridge. It develops more flavor, and all you have to do in the morning is shape and bake.
Related Recipes for More Baking Fun
If you love homemade bread, check out these other easy, delicious recipes:

Homemade Amish White Bread
Ingredients
- 2 cups warm water
- 2/3 cup sugar
- 1 ½ tablespoons active dry yeast
- 1 ½ teaspoons salt
- ¼ cup oil vegetable, coconut, or melted butter
- 6 cups bread flour or all-purpose, with adjustments
Instructions
- In a large bowl, combine warm water, sugar, and yeast. Let sit for 10 minutes until foamy.
- Add salt, oil, and flour gradually, mixing until a dough forms.
- Knead for 8–10 minutes until smooth and elastic.
- Place in a greased bowl, cover, and let rise until doubled (about 1 hour).
- Punch down, divide into loaves, and place in greased pans. Let rise again for 30 minutes.
- Preheat oven to 350°F.
- Bake for 30 minutes until golden brown and hollow-sounding when tapped.
- Cool completely on a wire rack before slicing.
Notes
- For extra softness, use bread flour instead of all-purpose.
- Store in an airtight bag at room temperature for up to 3 days.
- Freezes well—slice before freezing for easy access.
- For a richer crust, brush with egg wash before baking.
Once you bake Amish White Bread, you’ll never go back to store-bought. It’s soft, fluffy, and downright irresistible. Whether you’re spreading it with butter, turning it into sandwiches, or just sneaking a piece straight from the loaf, this bread is pure homemade magic. Happy baking